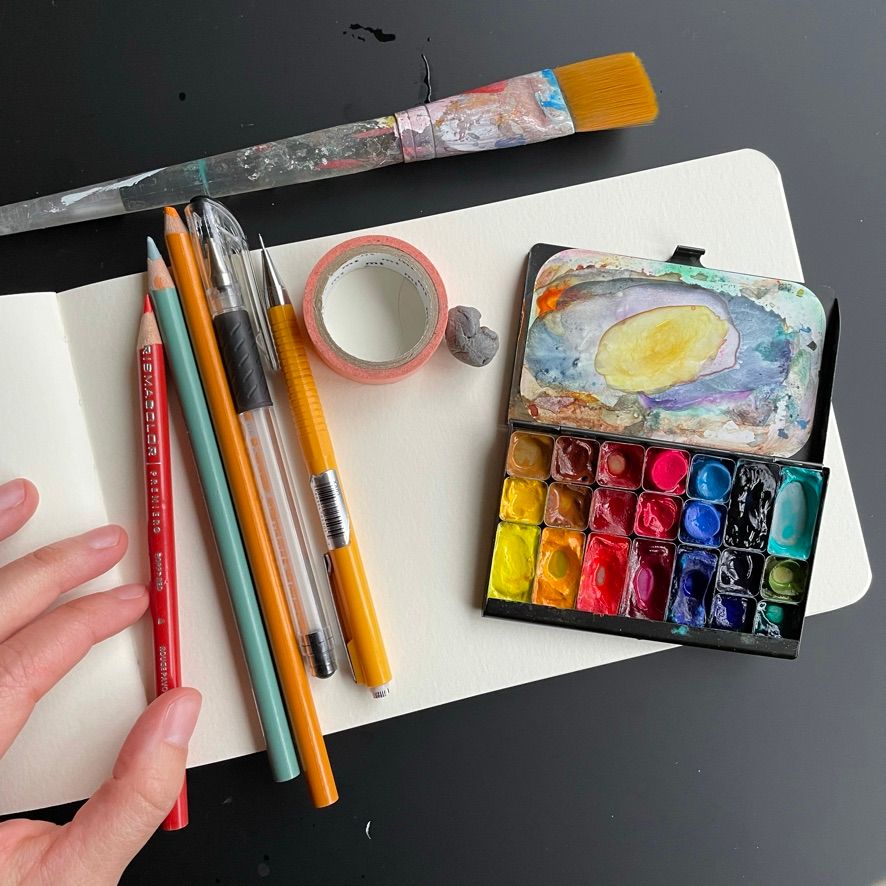
Starter Kit

Welcome to the first Materials post. Each month I'll add new reviews and recommendations based on the supplies I've tried. Art supplies are, for me, 20% work material, 80% hobby-in-their-own-right, so I hope you enjoy hearing me geek out over what I enjoy and why.
I am a whole-hearted believer that you don't need anything fancy to get started, and that getting started is the most important thing. Still, new art supplies are joy incarnate, so if you're wanting to get something shiny, I completed understand! In general, here's my approach to buying supplies:
- The best supply is the supply you will use. If it feels too precious, it might actually create resistance to making art.
- Get the best supplies you can afford (that you'll use!), meaning ones marked "artist grade" instead of "student grade" (in general).
- It's better to get a few colors of a nice quality supply than all the colors of something that will be frustrating to use.
- Most supplies actually last a long time. If you can get one good quality paint for the same price as 4 low quality ones, I'd go for the good one.
- The tactile experience of putting down marks is one of the best parts of making art, and quality supplies just feel so nice to use.
- Higher quality supplies are often highly pigmented and go farther, meaning you use less of the supply to cover the same amount of paper/canvas.
- Artist grade supplies are often more lightfast, or less likely to fade or discolor over time.
- Personally, I feel it's most worth it to spend money on quality paper and paints, and go economy for brushes, pencils, pens, tape, etc.
So, with this in mind, here are three approaches to putting together your starter kit:
Simple Mode - it's better to start than to research supplies
1) Find things that can make at least three different types of marks: perhaps a pencil, a pen and a highlighter or crayon.
2) Find a stack of paper, notebook or sketchbook. Anything will do.
3) Begin making marks
Honest Mode - learning the supplies you have is the best place to start
1) Gather everything that you have that can make marks (pens, pencils, highlighters, paints, chalk, etc.) and everything you can make marks on (paper, canvas, wood planks, cardboard). Throw in tablets and styluses if you have them too!
2) Lay it all out on a table.
3) Look at the pile. Pick out your favorite items. Collect them in a little bucket or pouch. It may turn out you have plenty to begin with.
4) Begin making marks
Nothing like a new box of crayons - bling!
1) You realize you just want something new and you've got the cash.
2) Buy a sketchbook. I like ones that lay pretty flat, have mid to heavy paper and that have some kind of sewn binding (anything other than spiral) so that your marks can flow across the page. I would avoid perforation too so you're not tempted to assess whether you want to tear something out. These are nice and these are my favorite. I also love these and go through several each year, but they have very thin paper and are best for writing/drawing (which does not stop me from painting in them and getting that delicious warped and crunchy paper texture).
3) Buy a mechanical pencil and a regular pencil. You could get an eraser too. A kneaded eraser won't damage your paper too much.
4) Color: here you've got options (paints, colored pencils, markers, etc.). I started with watercolor, and would recommend these paints as the cheapest option and these ones as the truly-worth-it option. Each month I'll be writing a guide to different kinds of supplies and paints, and this month is artist quality watercolors. Have a look there for a more in depth recommendation on what I look for in paints and which ones I use.
5) Brushes: At some point it might be worth it spend more money on brushes but I've almost always used cheap ones and am happy with them. If I could give you one tip it would be this: start with a big brush. Small brushes feel familiar because they feel like pens, but trying to be too in-control is a trap! A set like this or this might work well for some variety.
6) A waterproof pen. If you google water-proof black pen you'll find a lot of options. I use sharpies, these, these and these.
7) Some washi tape is optional and nice to have for edges.
8) Begin!
Whether if it's ballpoint pen on printer paper or $50 paints on the first pristine spread of your new sketchbook, I'd encouraged you to notice what comes up when you go to make some marks. Greet the feeling, and welcome whatever it is that you feel. Make a note of it somewhere in the marks you make. Notice where it sits or stirs in your body at this moment in time. This feeling is your art-making companion and this is your first step in befriending them.

