
Try It: Water Control


So much of water control is a hand feel, a sense that develops with lots of experience, where we know how much we can ask of our paint and when to sit back and trust it to do its thing.
Here are four swatching exercises I'd recommend to get more and more familiar with how watercolor flows and dries.
One loaded brush
This practice is a type of swatching, where you pick up some paint on your brush and make whatever size shape on your paper that you can with that amount of water so that it is continuous (no dry brush texture/breaks), but there is no pooling. Below is an example. In this exercises we're going for the middle swatch.
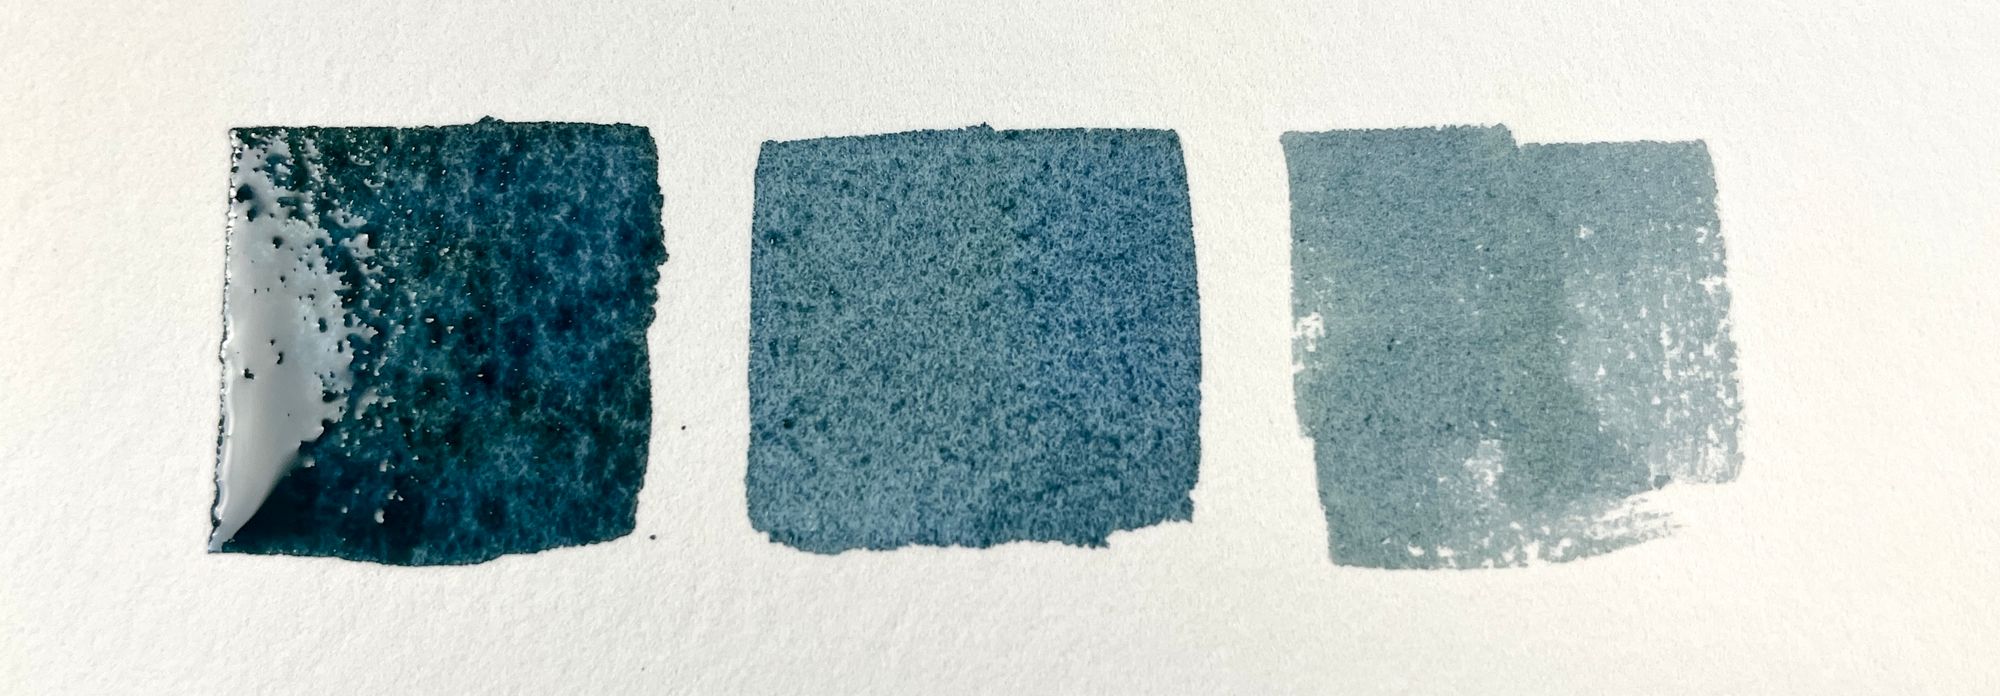
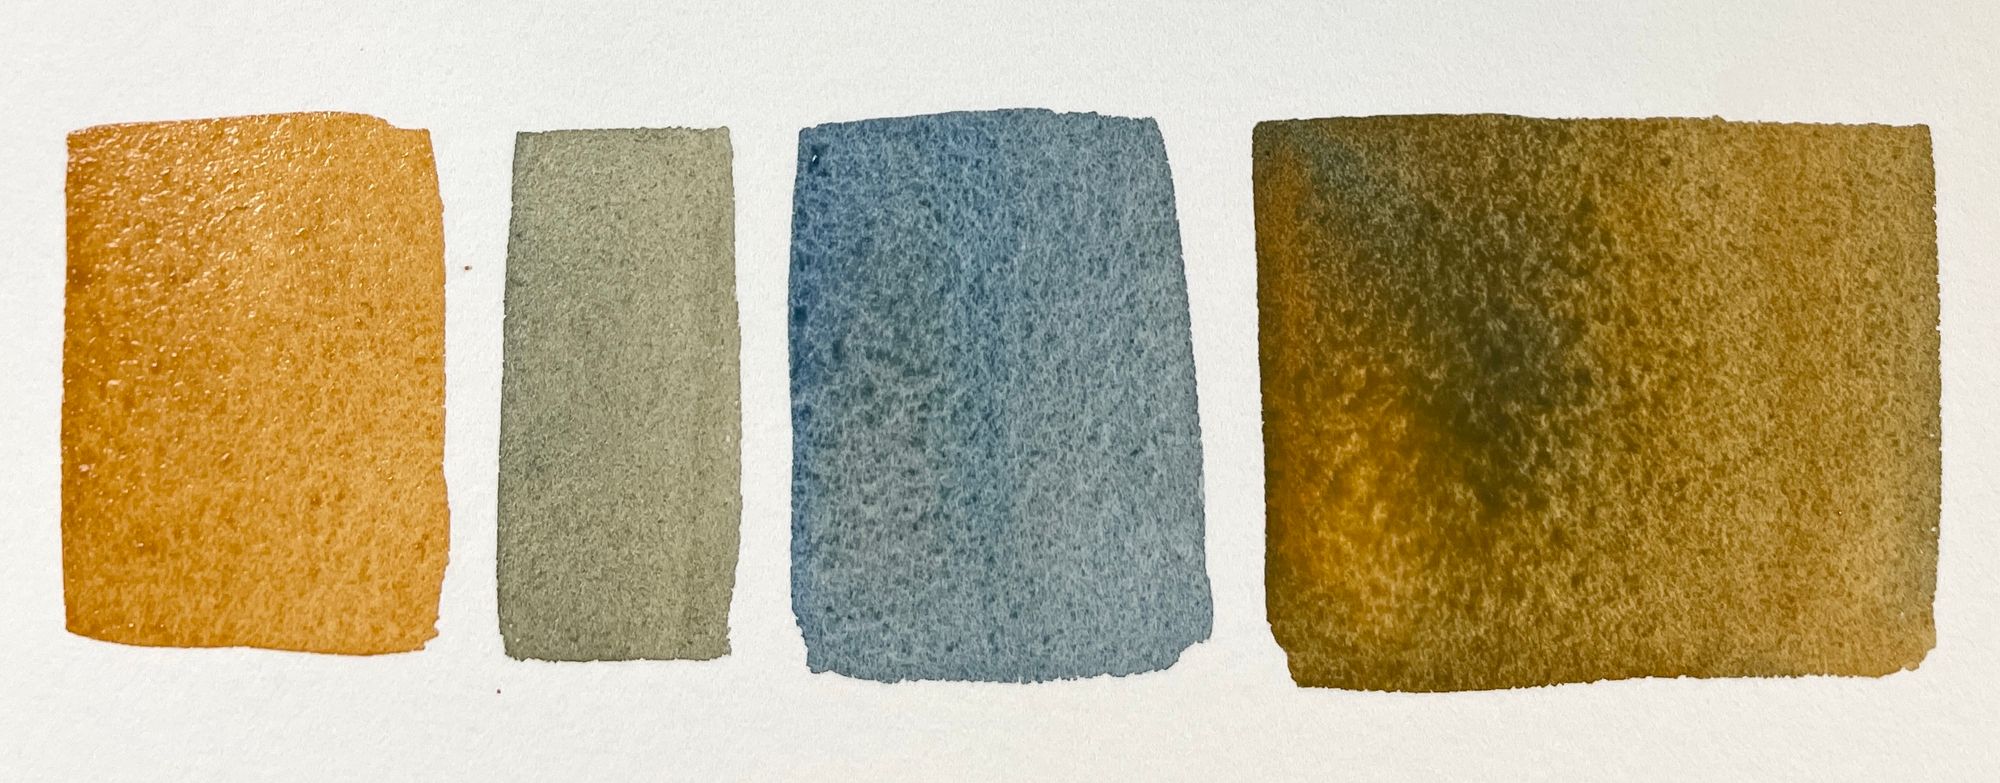
Over time you can try this with different brushes and paper and see the wide variation in how much coverage you get with one brush load. And, with practice, you can learn the critical skill of being able to lay down that "just right" amount of water/paint for a flat wash. Below are shapes I made with the same brush, that had picked up varying tones from my palette mud. Some shapes are larger than other because my brush was loaded in some cases more than others.
Doing this has helped me gauge how much paint to pick up depending on the kind of mark I'm wanting to make.
Sopping wet swatches
I also have learned a lot on how much water I can use by swatching in ways that push toward the pooling end of the spectrum and observing how they dry. Doing this on different papers is one of the fastest ways to learn how much leeway you have with that particular paper. I've done this for a long time. Here's a quick video from a few years ago of me doing this in a new sketchbook to learn about the paper: