
Acrylics + cats: working with opaque paints

Welcome to a new series on working with acrylics! I love this medium. It is so versatile and forgiving – a great place to play whether you are just starting out, or are working on refining your skills.
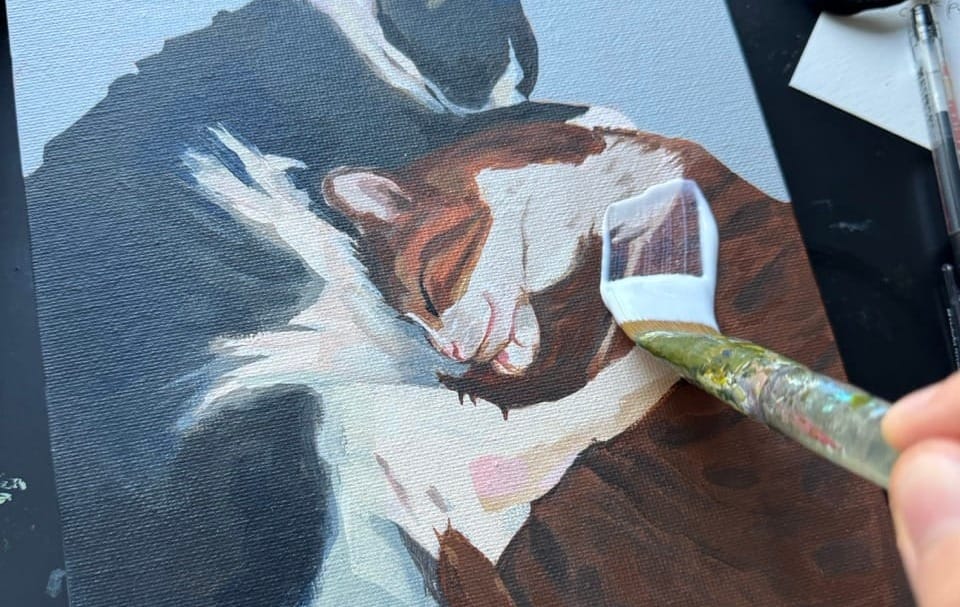
To start us off, I'm going to walk us through a painting I did recently, pointing out various principles and ideas as we go. It's a commissioned portrait of two cuddling cats, and the process will give me a chance to touch on many of the approaches I use when working with acrylics. Then, in future posts, we can go into these concepts in more detail.
Setting up
For this piece I'm using heavy body acrylics. They are thick and luscious – somewhere between a hearty alfredo sauce and room temperature butter. I'm working on canvas board (which comes already gessoed as almost all pre-stretched or mounted canvas does – if it's white, that's the gesso).
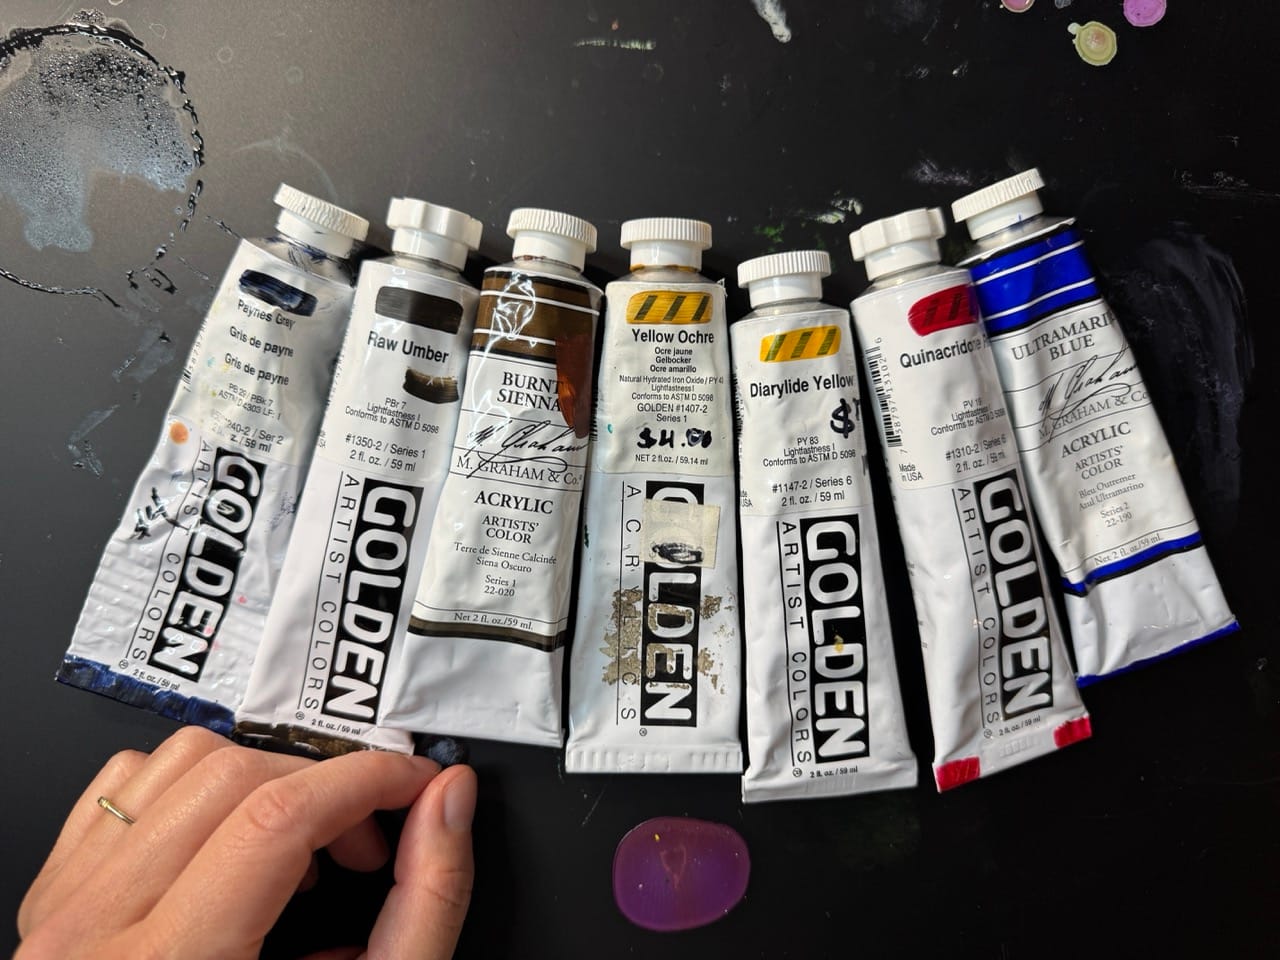
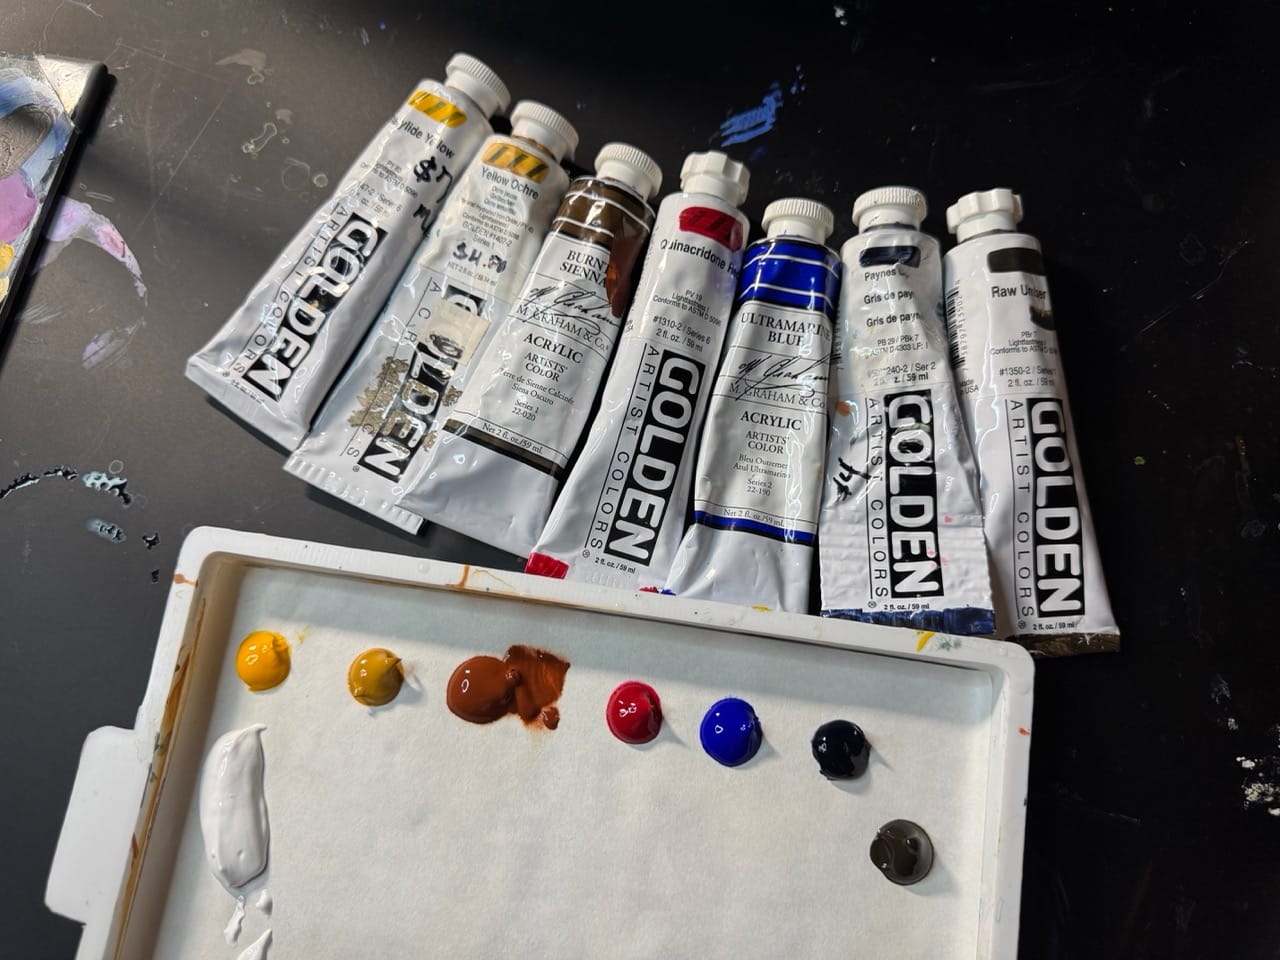
I knew I might work on it over a few sessions, so I set my paints up on a Sta-Wet palette. These are fairly affordable to buy, or you can make your own using a wet sponge/paper towel and parchment paper (the internet is full of tutorials). These palettes allow just a touch of water through the paper from the wet sponge below to keep your paints from drying out, so you can use them over the span of days, sometimes even weeks.
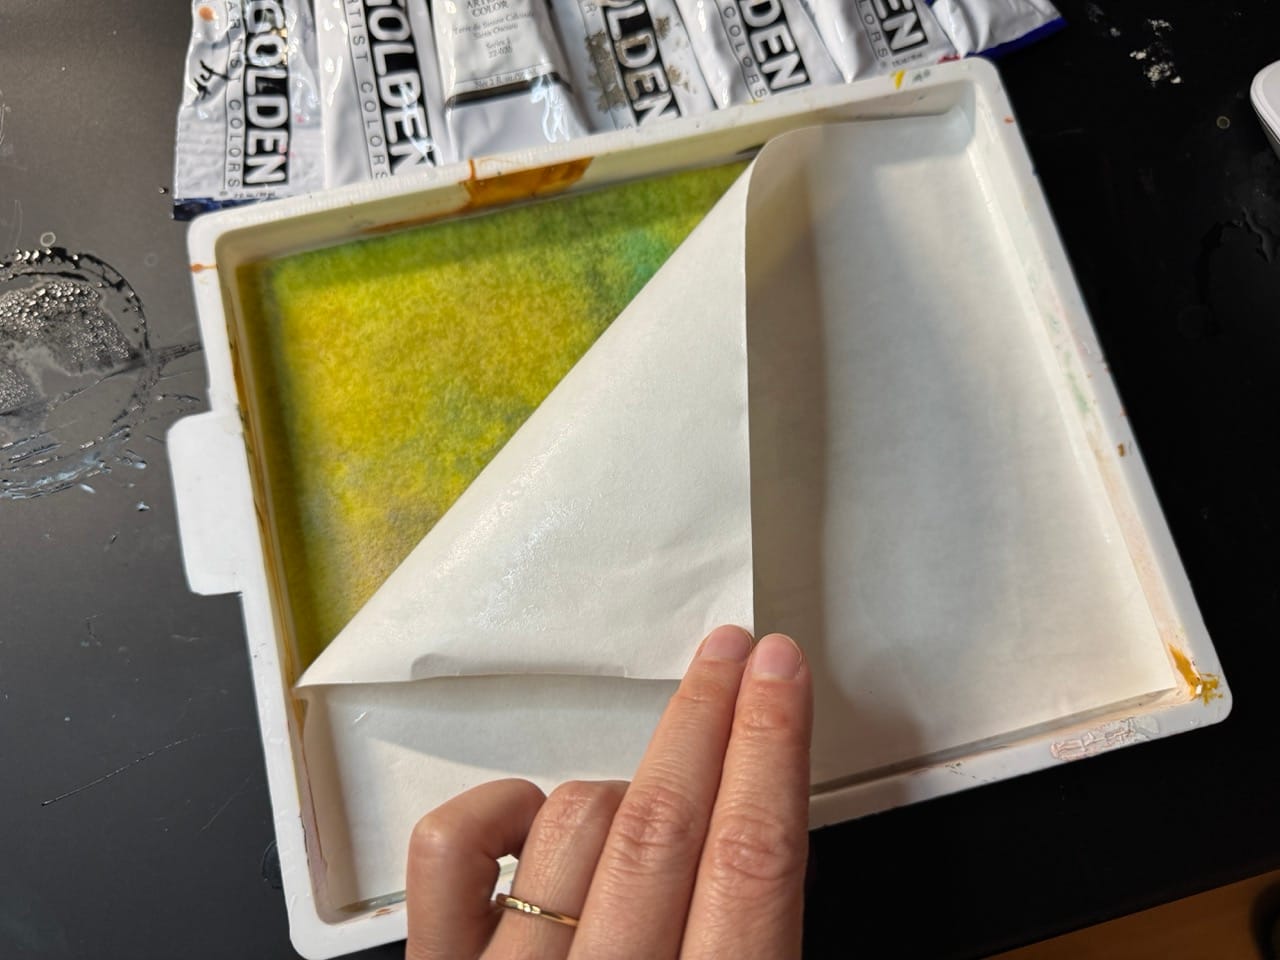
Acrylic paints dry as a plastic film, so once they're dry they can't be dissolved again. They also dry very quickly. This means it's easy to lose a lot of paint to drying out on the palette. If I use a basic palette (like a glass one, or my trusty favorite - a piece of freezer paper taped around cardboard), I will only put out as much paint as I'm about to use right away, and/or spray it down with water often to keep it from drying up.
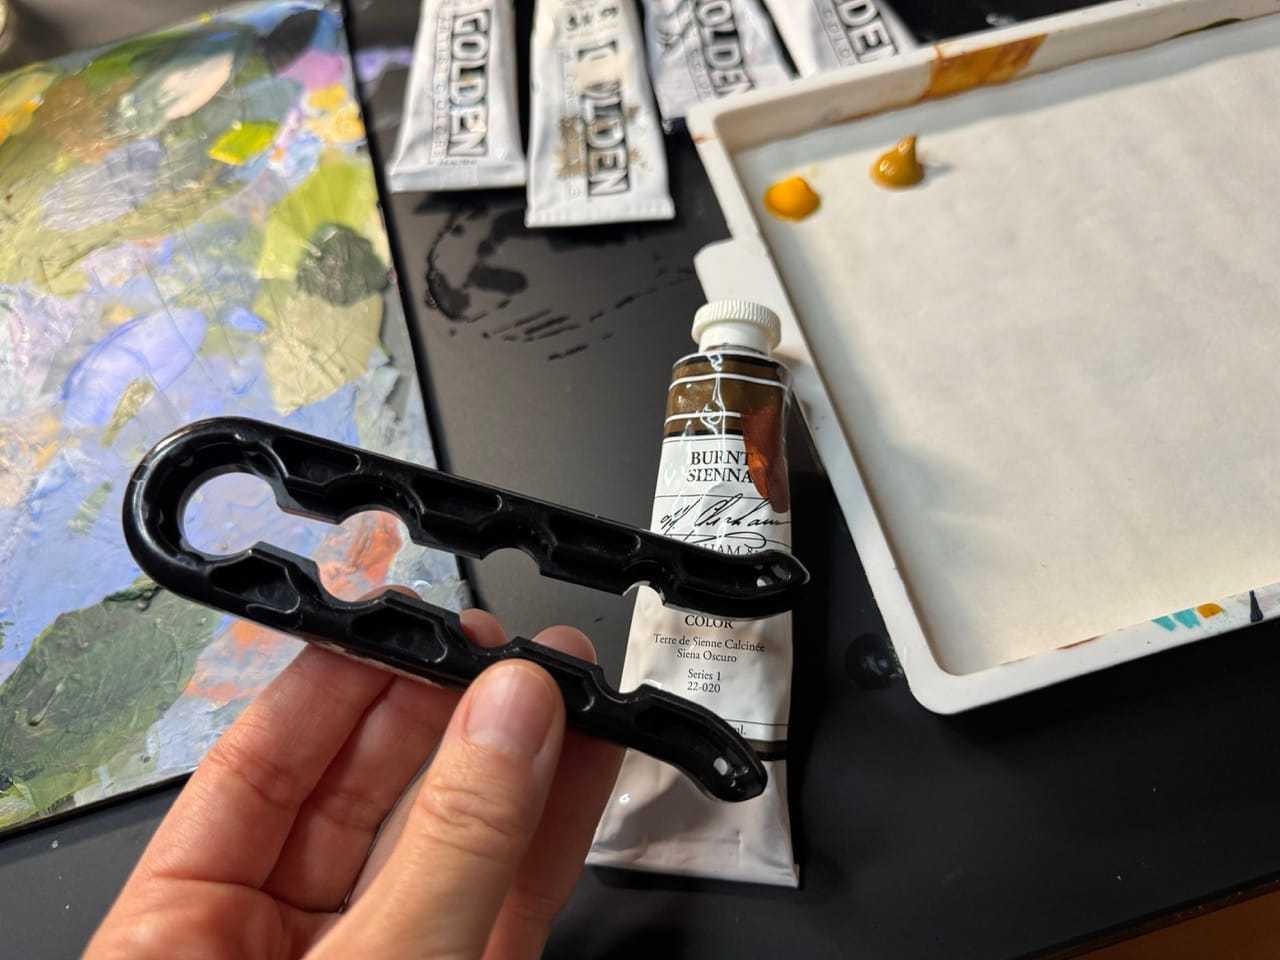
Here's one more handy tool: this paint lid gripper is made by Golden and it gives you some leverage when twisting off the caps. Once they start to get some paint dried in there, it can be pretty hard on your hands to get the caps off without a tool like this. I also have a basic silicone gripper around that I use from time to time (this kind of thing).
Setting up the guidelines
To save drawing time, I printed out my reference photo to the correct scale (8"x10" in this case) and used transfer paper to establish some landmarks for the major shapes.
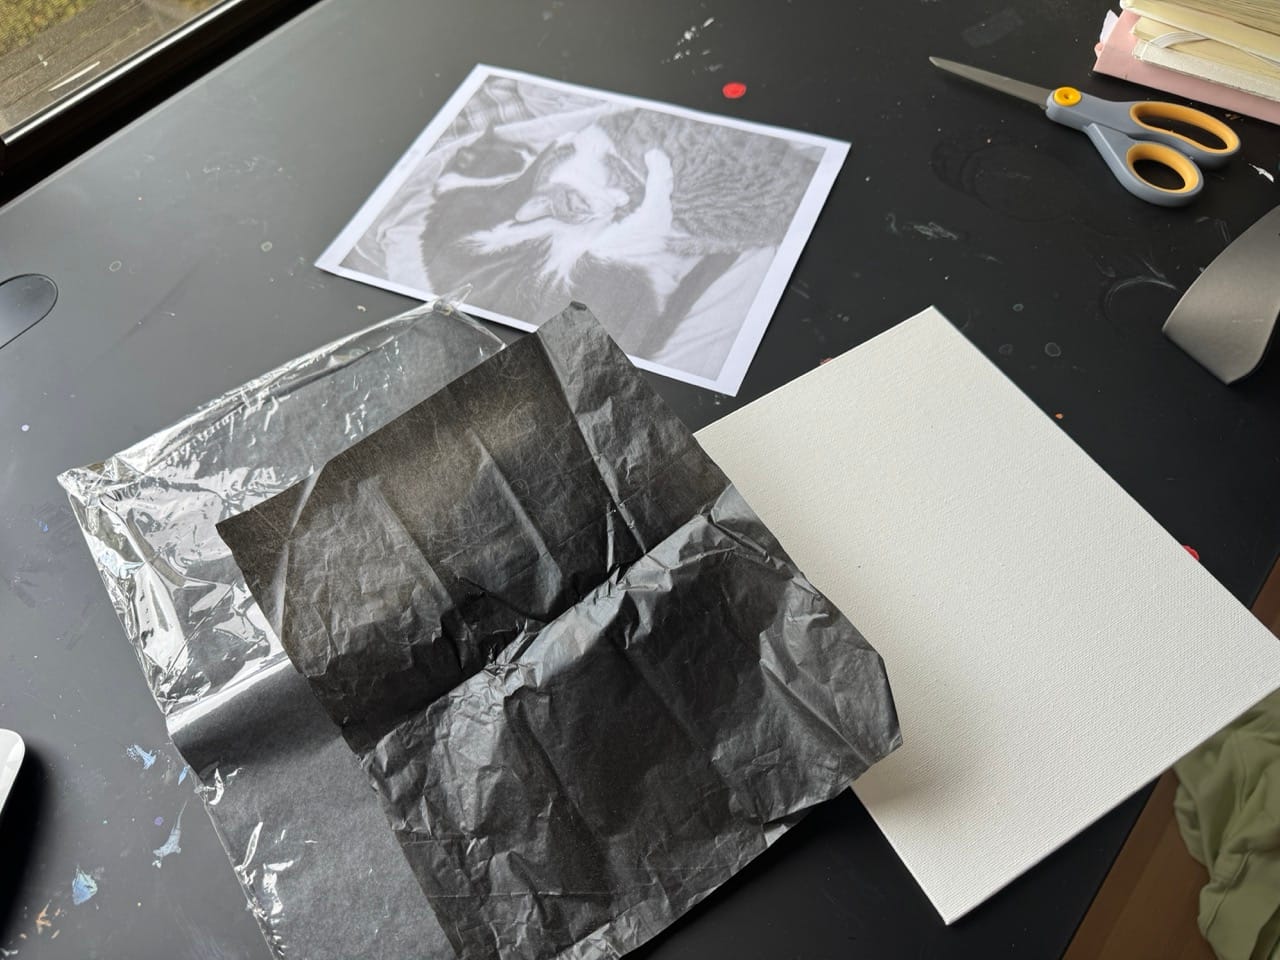
I taped the transfer paper and then the printed reference photo to my canvas.